How to propagate orchids at home ?
Orchids are very popular plant, but not many people try or know how to propagate them. Meanwhile, it is not that difficult and you can successfully carry it out at home.
Here, you will find suggestions on how to propagate orchids at home, to get as many beautifully flowering plants as possible. I will show you the most popular ways to reproduce orchids that will help you quickly expand your orchid collection!
- Stem propagation
- Keiki propagation
- Propagation by division
- Pseudobulbs propagation
- Propagation from flower stem
- Propagation with seeds
Ways of reproduction of orchids
Orchids can be reproduced in many ways, but only some of them can be used in the conditions of amateur home cultivation.
In most cases you can propagate orchids at home mainly vegetatively, obtaining cuttings from plants that are already owned – by dividing them, from pseudobulbs, cutting off fragments of rooted shoots, or from side shoots, the so-called keiki.
However, it is not possible to reproduce orchids from seeds (in home cultivation they practically do not set seeds) or by the invitro plant reproduction method, which is used only in laboratory conditions.
The method of reproduction of orchids must be selected according to the type of orchid that you want to reproduce. For example, sympodial orchids are propagated by dividing the shoots, while monopodial orchids, which do not form rhizomes or pseudobulbs, are propagated by apical cuttings or outgrowths.
Propagation of orchids from the stem
This is how the popular Vanda and Phalaenopsis orchids reproduce. When the shoot reaches at least 30 cm and produces a large number of aerial roots, the top of the shoot is cut 1 cm below the roots and planted in a separate pot with a substrate consisting of shredded pine bark mixed with peat and sand.
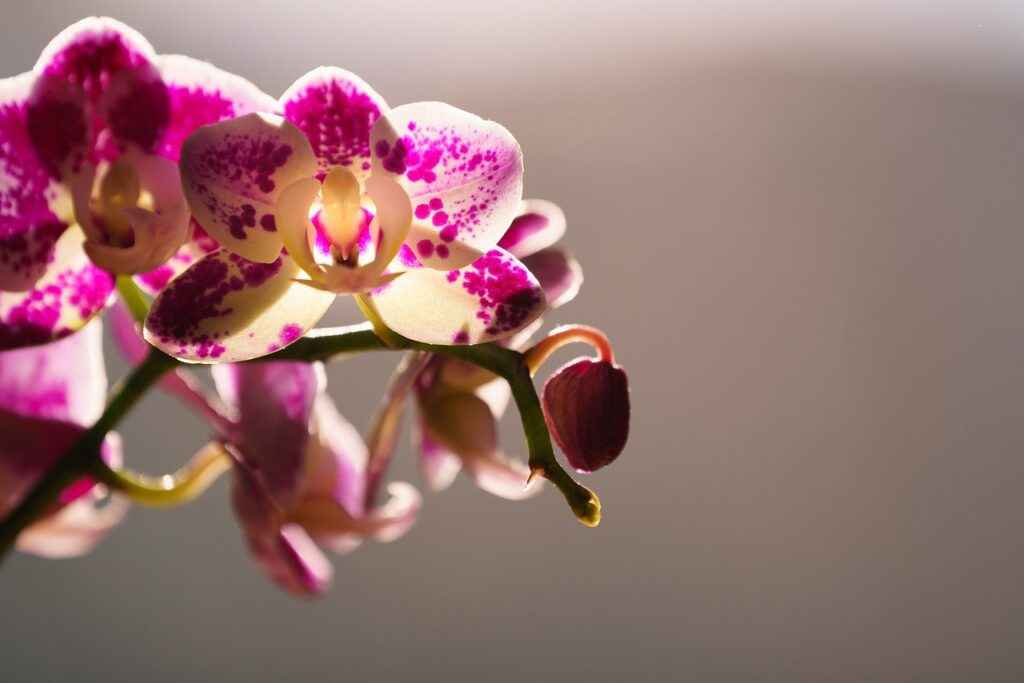
Do not prune the aerial roots. On the lower part of the shoot, from the angle of the first or second highest leaf, a new shoot will break out over time.
Attention!
Remember to always add a little substrate from the mother plant to the new substrate to which you transplant cut-off rooted shoots. In order to survive, orchids require intercourse with mycorrhizal fungi, which will not be found in fresh soil. Therefore, it is always necessary to give some substrate from under an already cultivated orchid.
Orchid reproduction by keiki
Orchids of the genus Dendrobium, Epidendrum and some species of Phalaenopsis and Vanda can be propagated by separating the side shoots growing from buds sleeping on the stem or from shoots, i.e. keiki.
When the air roots on these shoots reach a length of at least 2.5 cm, the seedling can be cut off and planted in a pot filled with a moist substrate. The seedling should be tied to a stake and attached to the ground to keep it vertical. Then place it in diffused light and sprinkle it daily keeping the air around it moist.
Can you propagate an orchid from a leaf?
Orchid reproduction by division
All sympodial orchids composed of more pseudobulbs, such as plants of the genus Dendrobium and Cymbidium, are divided into parts leaving 3-5 healthy, smooth, leafy pseudobulbs in each. The division of well-developed and healthy plants is done when orchids are transplanted.
If the orchid has 6 pseudobulbs or two new shoots, it can be divided. During this activity, you will not only get new plants, but also rejuvenate the old ones. In some species with too much leaf formation, this activity can stimulate more profuse flowering.
The rhizomes of orchids are divided with a sharp knife or pruner between adjacent pseudobulbs. Then very carefully divide the plant into two parts, gently untangling the roots.
Orchids reproduction from old pseudobulbs
Old pseudobulbs can be used for the propagation of sympodial orchids after they have been separated from the healthy, viable part of the plant. Leafless, wrinkled pseudobulbs are planted in boxes with a 5×10 cm spacing, in a substrate composed of moist peat and perlite.
The substrate should not be watered, but only misted 1-2 times a day. After a few months, new shoots will begin to grow from the sleeping eyes at the base of the pseudobulbs, which should not be transplanted into normal pots until after a year.
Propagation of orchids from a flower stem
Old orchid shoots of the genus Dendrobium, from which the leaves have fallen, as well as old inflorescence shoots of Phalaenopsis plants have the ability to produce new shoots from the side buds. Old inflorescence shoots are cut into 10-15 cm sections, so that each one contains several sleeping eyes.
The seedlings can be placed flat in boxes in a substrate composed of moist peat mixed with sand. The boxes are placed in a visible place, covered with glass and sprinkled daily. In such conditions, new shoots and roots begin to grow relatively quickly from sleeping buds.
After two months, when the roots are about 2.5 cm long, cut off small plants from the seedling and plant them in separate pots.
Orchid seeds – how to get?
This method is not possible in home cultivation, as the orchids practically do not set seeds. The method of reproduction of plants in vitro is possible only in laboratory conditions.
To obtain orchid seeds, the flowers must first be pollinated. The best time for this is a few days after the orchid blooms. Use a stick or other similar instrument for pollination. Importantly, you should pollinate within one species – this is a greater guarantee for better results, although crossbreeding is also possible.
However, many attempts must be made, especially cross-breeding, before pollination is successful.
Besides, it may take months for the seeds to mature and the seed bag to burst.
Germination? You will need fungi
Producing your own seeds is a relatively simple matter, but unfortunately it is not that easy. In nature, orchids live in symbiosis with various fungi. Most of them can live without them, but they will not sprout. For this reason, orchid seeds cannot be sown simply into pots.
The seeds that are sown directly into the pot of the mother plant – its substrate – have the best chance of fertilization. Unfortunately it may take three to six years for a germinating plant to grow into a beautiful orchid.
Orchid conditioners
Professional growers already know how to replace mushrooms with artificial agents, but for a beginner plant enthusiast it can be quite a challenge. You will need a special conditioner with a mixture of marine algae substances.
The nutrient solution is placed in a laboratory flask. When sowing into the flask, you must maintain sterile conditions, so that no microorganisms from the air would get into the flask. The seeds should also be as sterile as possible. After sowing, place the flask in a warm and lit place.
Mentioned nutrients can be obtained in specialist stores that specialize in orchids.
A shock for orchids may be the moment of transition from a sterile medium to normal conditions. Only those plants with two or three leaves and first roots should be removed from the flask. Remember to take them out of the flask carefully and place them in flat pots.
Summary
Transplanting orchids is not difficult, as long as you follow the appropriate methods and rules during the process. Remember to have a suitable substrate, clean pots and a sterile cutting tool before reproduction.
Before transplanting, also remember to moisten the substrate so that the orchid roots do not break during this procedure. When removing the orchid, it is enough to squeeze the pot a little and carefully remove the old substrate from between the roots (I also recommend getting rid of rotten roots during this process).
Source: https://www.britannica.com/plant/orchid/Structural-diversity
