
How to cut tulips after they die
Spring is the time when tulips play the first fiddle in garden flower beds. Fabulously colorful flowers in various shapes delight our eyes and we would like to preserve their beauty for longer.
Unfortunately, late varieties of tulips end their flowering on the first, warmer days in May, and then it is time to properly care for these plants after flowering. Often we do not know what to do after the petals fall, when the leaves of the plants are still green, but not particularly decorative.
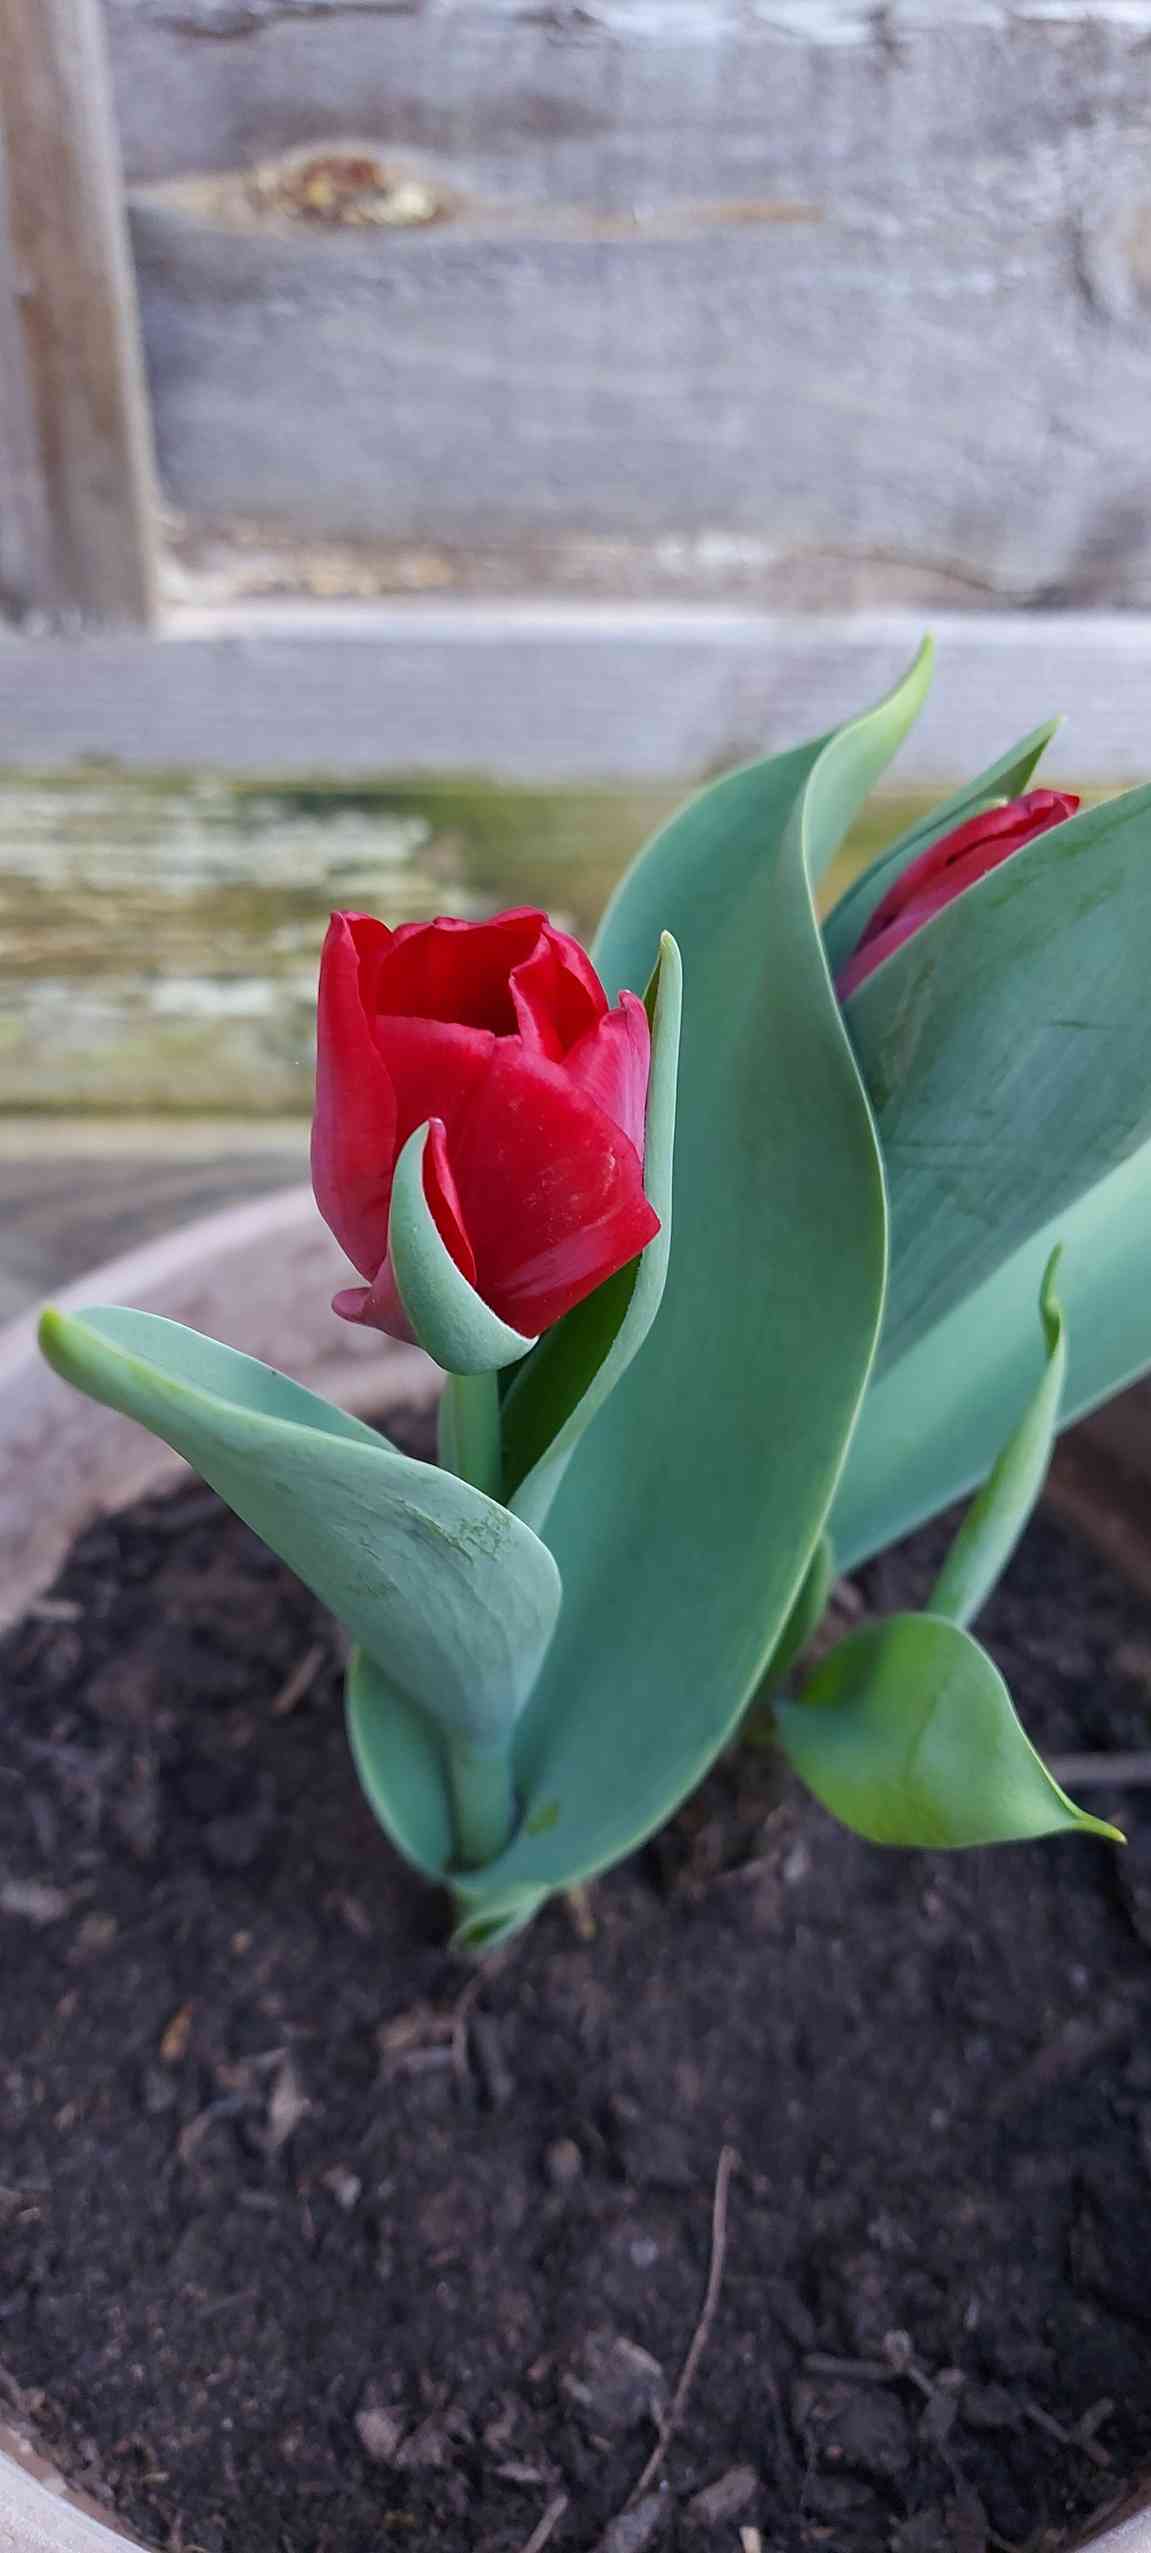
Topping out the tulips
Topping is nothing more than removing the ‘head’ at the end of the inflorescence, i.e. the pistil and the seed bags. This can be done by cutting with a sharp knife, pruner, scissors or by breaking off right under the inflorescence.
If you decide to use tools to perform cutting you must disinfect them after each plant. You can do it with high-percentage alcohol or special agents that fight viruses, bacteria and fungi.
You must do topping as soon as possible after flowering, because the seeds that are forming in the bags draw energy from the underground part of the tulip.
To cut or leave leaves after flowering tulips?
The leaves and the inflorescence shoot are very important organs which, through photosynthesis, accumulate nutrients and transfer them to the onion, which then creates its genetic copies in the form of adventitious bulbs.
Cutting green leaves too quickly may deprive you of tulip flowering in the following years, and ultimately lead to their dieback. After removing the seed capsule, leave the entire aboveground part intact, do not cut it until it dries naturally.
If it does not rain, you should not forget to water the plants regularly, but gently. If you water abundantly as it can lead to the appearance of fungal disease and rotting of the bulbs.
Digging up the bulbs after flowering
There are two schools of thought for dealing with tulip bulbs after flowering. One of them says that the bulbs should be left in the ground. However, with this method, the bulbs often move deeper and deeper into the ground. As a result in the following years flowering becomes poor.
However, it is advisable to dig out the bulbs. Best time to do it is at end of May and in June.
After digging up:
- Clean the soil from the bulbs and separate the adventitious bulbs.
- Place them in paper bags, wooden boxes or baskets made of natural materials.
- Make sure that the onions have access to air and are in a cool and dry room, e.g. a cellar.
- Check the condition of the bulbs from time to time. When you notice symptoms of rotting or fungal diseases, separate the infected bulbs from the rest as soon as possible.
- After a dormant period, which should be at least until September, plant them again in your garden or pots to enjoy their beautiful flowers next spring.